Wednesday, September 19, 2012

I wanted to get this post in before the day is over.  I made this card for a little 8 year old girl at my church.
From the background up, this was a free-online decoupage sheet.  I raised up the saying, the flower and the two little bows.
The Happy Birthday is a "1995 Annette Allen Watkins #A1129 Happy Birthday" stamp.  It is one of my favorite Happy Birthday stamps because it is cute, little, and it fits into smaller areas than a lot of other HB stamps.

Thursday, August 23, 2012


EMBEDDED EMBOSSING:

This is the first time I've used this particular technique and I LOVE the way it turned out.  I glued the circles onto my yellow card stock and then ran it through my Cuddlebug Birthday Embossing Folder.  It is very important that you bring the glue to the very edge of each circle, or it will lift and won't look as nice.  


Tuesday, July 17, 2012

My friend Sue is a quilter, so I made this card for her birthday.  
The sewing machine is a free online image.  I added some quilt background paper on the left, some Spellbinder die layers, a saying, and some ribbon.
This is the inside of Sue's birthday card.

Oh, by the way, Sammy was beloved dog!  
I just finished this card today for another little girl at church.
I used my "Scrap Layering" technique on the bottom layer.  My base card is a dark blue.  I glued small pieces of scrap floral background paper onto the base card all around the edges, and then added the blue floral background on top of that.  The blue floral background was run through a Sizzix embossing folder and then I ran some sand paper over the flowers which brought out the light blue core color of the paper.  The ovals were cut with Spellbinder's dies, as was the Happy Birthday ribbon banner.  The angel is a free decoupage from online which has four layers to it.
This is a card I made for a little boy at my church.

I used a free online image that I colored with my markers.  I drew in the sidewalk and added dots on it.  The grass has been punched with a Martha Stewart's grass punch.  The clouds were hand cut, inked on the edges, and then run through my Spellbinder's Swiss Dots embossing folder.
Another card for a little girl at my church.  I simply punched out several heart shapes and made flowers with them.  I also cut a couple of the hearts in half to make the leaves on the stems.  I had cut and crimped the stems.  
The center of the flower contains another little punched flower and a green bling.
I always keep an unused pencil eraser on hand, which I used to make polka dots with.  Then I added some glitter to the center of each dot.
A small Happy Birthday was added to the bottom right.

My friend Sue's little dog, Sammy, just passed away.  Sammy was a sweet little dog and he will be missed!

I wish I had taken a photo of the back of this card as there is a little dog with this huge bone in his mouth.  Sammy was a Maltese and was not a very big dog - he only weighed a few pounds.  I was at Sue's house one day when Sammy came into the room with this BIG bone he had found outside in the back yard.  Sue doesn't even know where the bone came from.  Sammy was just prancing around the house with this huge bone in his mouth.  He was sooooo proud of that bone!  It was such a cute thing to see!
This is the inside of the "Sammy Sympathy Card".

This is the birthday card I made for my son Corey's 39th birthday.  
Wow I can't believe he's 39 already - where did all the years go?????

HAPPY BIRTHDAY, COREY - I LOVE YOU!!!

I tucked a gift card in the pocket!

Friday, June 29, 2012

A little girl from my church just turned 11 and I made this card for her.  
The awning is done with little pieces of paper that I cut and glued on top.  I added some little cut-out cupcakes that were from a clear-stamp set from Michaels Craft Store.  Unfortunately I don't keep the names of everything as I don't have room to store all the extra pieces of paper - I have a very small stamp room and it is pretty packed in!  I am blessed, though, to have just enough room for two people to make cards, which is nice!  I have a box that I store my clear stamps in and it's almost full now too.  Oh what to do!
I added another piece of paper at the bottom which I trimmed with my edge trimmer.  I believe the trimmer is made by EK Success.  It doesn't actually have a name on it, but it looks like all the other EK Success trimmers I have.
The "Happy Birthday Hailey!" was done in my Printshop 6.0 card program and the font is LuvCountryArt.  After cutting the piece of paper for the saying I ran it through my Swiss Dots Cuttlebug Folder and colored each dot pink.
As a last thought, I added some little purple dots behind the cupcakes and a little purple ribbon to the bottom of the card.

Monday, June 25, 2012

My sweet little granddaughter just turned 15!  I can't believe it!  She's such a beautiful young lady - inside and out!  
She wanted me to make her a card with zebra and leopard animal prints, lots of bling, and glitter.  I thought: wow, what in the world will I make with zebra and leopard animal prints on the same card???  Well, this is what I came up with.  She loved it and I was pretty pleased with it myself!  :)
The flowers were from a clear-stamp set from Michael's Craft Store.  I stamped the images onto leopard and zebra BG paper, colored the pink ones, cut them all out, glittered around the edges of each one, and added a little clear bling to each center.  The white background (BG) was done with my Swiss Dot Cuttlebug Folder and I colored each dot pink.
The stem in the BG is actually stamped with 3 clear stamps from Close to My Heart #C1397.  This is a very cute set.  There are 9 flowers, 4 stems, several leaves, and two sayings in the set.  
Here are a couple that I've been working on for the kids at church:


And this one went to my friend Phyllis for her birthday...I call her the "Big Pill"...Don't know why, other than she's a pill...LOL!  Actually, she's an AWESOME friend! I'm blessed to have her in my life!  
This little card I tri-folded, added some Spellbinders hearts, a couple of EK Success butterflies, some BG  paper, and a bow.  Pretty simple card.  Also, after I photographed this card I rounded the corners on the two inner flaps that meet under the heart as it softened the look of the card.

Saturday, June 9, 2012

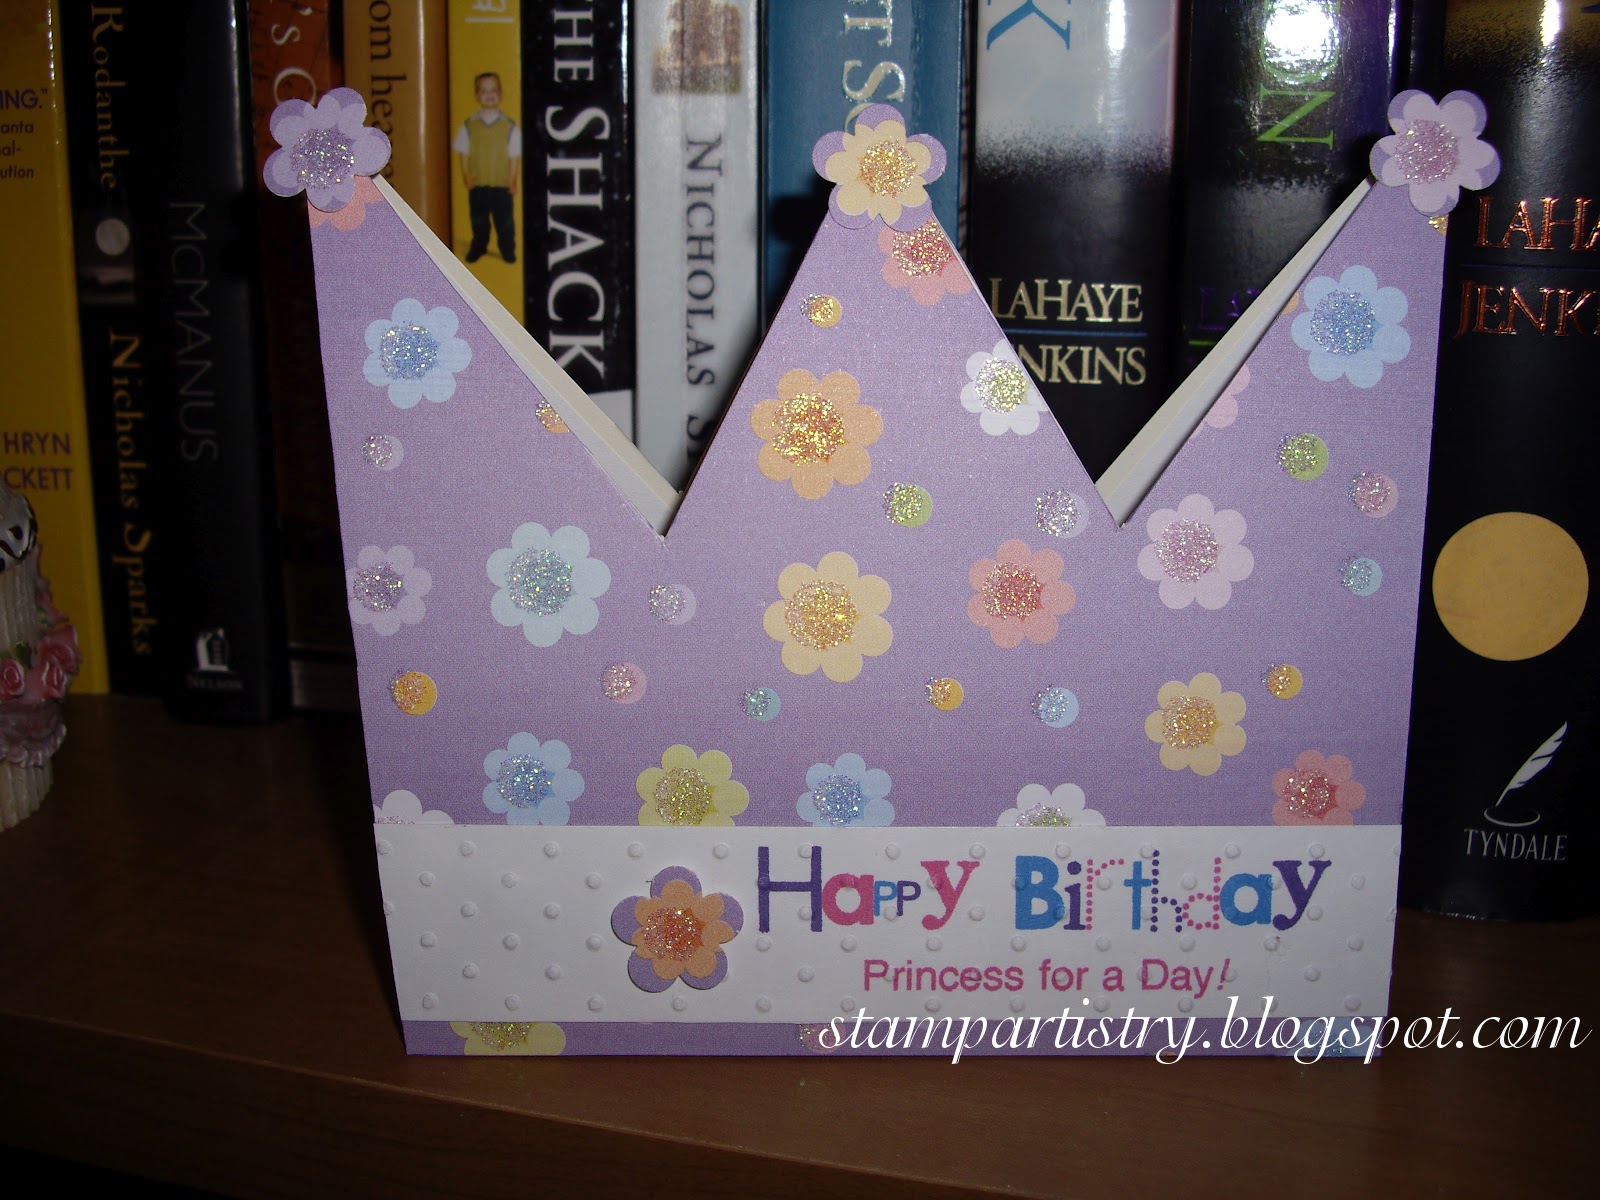
A cute little crown card for a sweet little girl!  I simply drew out the crown on a piece of card stock, cut out a card, covered it with BG paper and added some little flowers and a saying.

Wednesday, May 23, 2012

I made this card for a friend of mine who just lost one of her very best friends.  They were friends for something like 40+ years!  Long time!
And, guess what her favorite color is...you guessed it...GREEN!!!


Monday, May 21, 2012

And, another card for a girl in my church who is turning 16 this month.  The BG paper is from the Floral Prints Mat Stacks.  The flower is in my stash without a name on it, but you could use any flower you have on hand.  I stamped it, colored it with colored pencils, cut it out, distressed the petals with a stylus, and raised it up with double sided foam tape.  I made the leaves with a cut die: Marianne Design Creatables Stencil - Flower & Leaves LR0156.  The tag punch is from EK Success.  I made the butterfly at the bottom from two 1" pieces of crepe paper, folded, and then glued onto a dragonfly punched piece of paper.  I raised it up with foam tape also.  I added a little glitter and called it a card! 


Friday, May 18, 2012

Another little card I made for a little girl at my church.  I drew out the cupcake template by hand, added a few buttons, a ribbon, and a little free online image.  It actually looks much cuter in person than here in the photo.  The background papers are from the Brenda Walton Designer Mat Pad by K&Company.

Thursday, May 10, 2012

A little folded card I made with background paper, a little Spellbinder's die cut heart, a Martha Stewart butterfly, a pink bow, and some greenery.  The card is made so the flap on the right tucks between the left flap and the heart for mailing/closure.
Here's something new I'm trying.  It's called doodling, Zentangles, Zenspirations, Zendoodles, etc.  On the internet I've seen it called many things.  Zentangles are actual copy written patterns (or tangles) that you can use for doodling.  Just read their rules if you want to use any of their tangles on cards you might want to sell.

I actually started out with this very plain online free image (see next image down) and added some tangles to it!  Isn't it cool!!!  I am sooooo fascinated by this technique!  I just recently found this media online and couldn't wait to try it.  Well, here's my first real attempt!  I did practice a little first on scraps of paper, and just a couple of days ago decided to give it a try.  In the very center of the flower I did add some yellow glitter which is a little hard to see in this photo.   This is a really fun way to decorate your stamped images and/or stencils.  Online there are LOTS of examples of how you can doodle in rubber stamps, stencils, and/or make your own frames to doodle in.  Even the lines on the frames don't have to be straight - they actually look better crooked, so there's no intimidation about doing it.  The cool thing about this is that there really are no mistakes...because no one's really going to notice it.  The ideas are endless and it's sooooo fun and relaxing.  It's really quite easy...If I can do it, anyone can!

This is the free online image I started with.